Did you know agents can resend Ad hoc emails from cases’ Email History in HR Case Management?
When employees have HR-related questions, the Email Channels integration enables them to interact with HR Case Management agents via email.
Customers can enable one or both Email Channels.
• The Case Creation channel creates cases from inbound emails.
• The Ad Hoc channel allows agents to send and receive emails directly from existing cases.
The case form's Email History retains copies of all emails sent to—and received from—the employee.
Resending Ad Hoc Emails
In the application's configuration settings, when the Ad hoc Email “Enable Resend Emails” switch is set to “Yes”:
• Agents can resend Ad hoc emails from cases’ Email History to the employee.
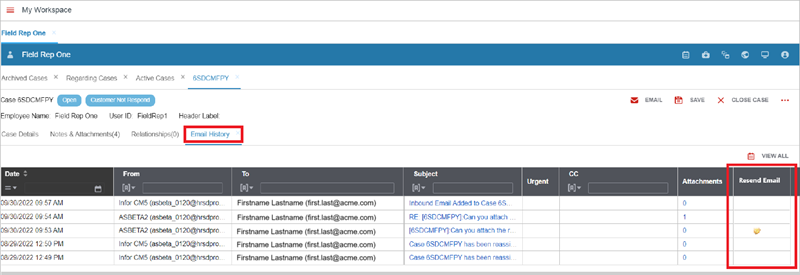
• Cases’ Email History tab features a “Resend Email” column. Within this column, an icon identifies each resent Ad hoc email.
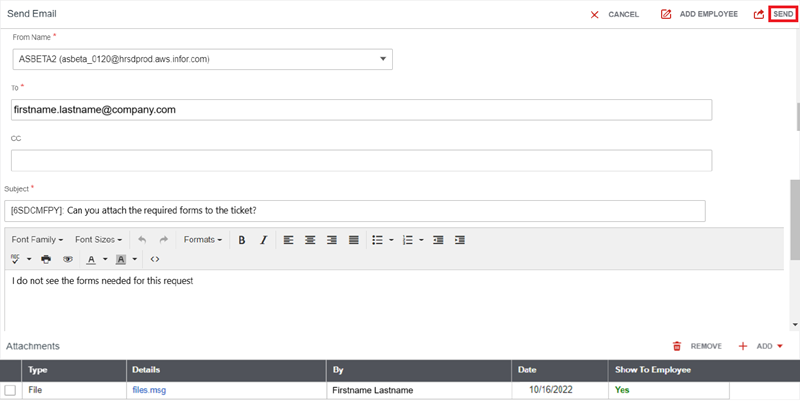
• On the case’s Email History tab, agents can resend an Ad hoc email by clicking its icon in the “Resend Email” column. The Ad hoc email’s Resend pop-up appears with all text from the original email. (Any attachments must be re-added.)
• The Template and Template Editor are not available in the resend popup.
• The From, To, CC, Subject and Message fields should match the original email. The agent can add additional employees to the To/CC fields and edit the Subject and Message fields as needed.
Benefits
• Agents need not create and send a “new” Ad hoc email with all the details of a previously sent email.
• Agents can quickly access and resend Ad hoc emails from the Email History.
• Agents can follow up with employees with fewer clicks and less data entry.
Enabling Ad Hoc Email Resending: Steps
1. Log into HR Case Management as a setup administrator (CMsetup).
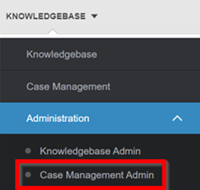
2. In the Administration menu, select Case Management Admin.
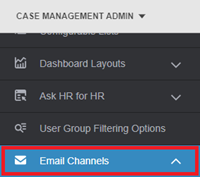
3. In the Case Management Admin menu, click Email Channels.
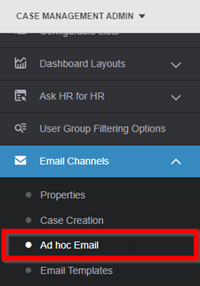
4. From the Email Channels drop-down, click Ad hoc Email.
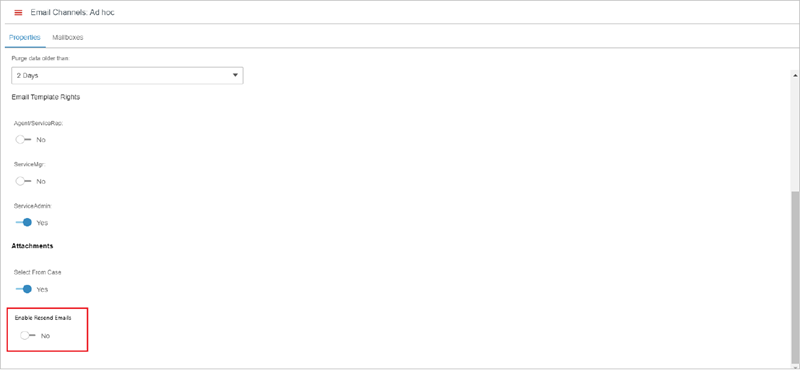
5. The Email Channels: Ad hoc page appears. Scroll down to the Attachments area. Click the Enable Resend Emails switch to set it to “Yes.” Then scroll up and click Update.
Viewing the Ad hoc Email Resend Feature: Steps
1. Log into HR Case Management as an agent (ServiceRep).
2. Open any existing case for an employee.
3. On the case form, click Email History.
4. On the Email History tab, the "Resend Email" column appears with icons for all previously logged Ad hoc emails. Click an icon.
The resent Ad hoc email's “Send Email” pop-up appears.
All information in the resent Ad hoc email's “Send Email” pop-up matches the original Ad hoc email.
Attachments must be added manually each time an Ad hoc email is resent.
The resent Ad hoc email's “Send Email” pop-up does not include the Template or Template Editor.
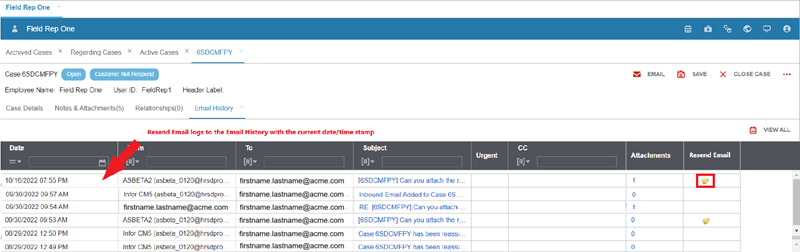
After the agent clicks “Send”, the resent Ad hoc email logs into the Email History with the current date/time stamp. The newly logged resent Ad hoc email features a Resend icon in the Email History's "Resend Email" column.
For questions or more information, contact your HRSD Advisor (Customer Success Manager (CSM)).
Please Send Your Feedback!
We encourage you to comment on this post—and any of the other posts on the HRSD Community that apply to you.
Your feedback helps us to improve our products and add enhancements to make them as useful to you and your employees as possible.
Thank you in advance!
